Hey guys..
Today i've got a new design for you..
I know i havent posted much the last weeks/months but i was really busy with school..
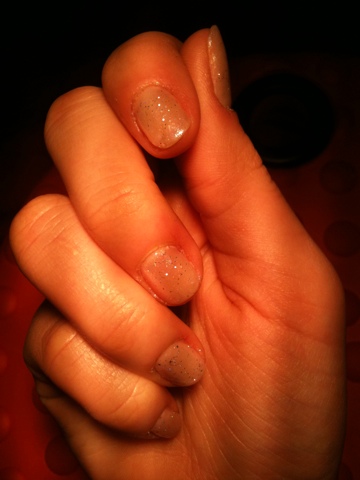
So to begin with i used the p2 last forever nailpolish with the colour "051 live the moment", then i used the konad plate m64 with the french design.. Then i just let it dry an applied a nice shining top coat..
I hoped you liked it and i will be lookin forward to nice comments <3
Love, Amy
Mein Blog rund um Nägel, Pflege & Designs
Thursday, April 5, 2012
Thursday, March 8, 2012
Rawwr!!
Hey guys,
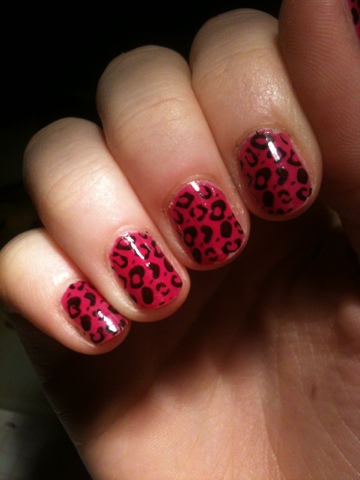
I must say, i really love the design which im gonna show you today.
I needed:
-arabesque pink nailpolish
-essence see through base coat
-konad stamping plate m57
-essence shining top coat
Before i started i applied the see through base coat like always to prevent my nails from ugly stains,
then i applied the pink coat and stamped the leopard design onto it.
After i let everything dry, i applied a see through top coat to make the design even prettier. Finished.
Love, Amy
I must say, i really love the design which im gonna show you today.
I needed:
-arabesque pink nailpolish
-essence see through base coat
-konad stamping plate m57
-essence shining top coat
Before i started i applied the see through base coat like always to prevent my nails from ugly stains,
then i applied the pink coat and stamped the leopard design onto it.
After i let everything dry, i applied a see through top coat to make the design even prettier. Finished.
Love, Amy
Tuesday, March 6, 2012
Blue flower design
Hey guys,
For this design today i used the konad stamping plates and a blue base coat..
I needed:
-basic turquoise colour
-konad stamping plate m64
So as this design was pretty easy i applied a see trough basic colour to prevent stains on my nails. Then i applied the turquoise colour and le ut dry. After that i stamped on of the designs if the konad plate m64 on my nails. To finish everything up i applied another top coat which gave it a last touch !!
For this design today i used the konad stamping plates and a blue base coat..
I needed:
-basic turquoise colour
-konad stamping plate m64
So as this design was pretty easy i applied a see trough basic colour to prevent stains on my nails. Then i applied the turquoise colour and le ut dry. After that i stamped on of the designs if the konad plate m64 on my nails. To finish everything up i applied another top coat which gave it a last touch !!
Friday, February 10, 2012
Kond stamping
Hey guys, today I'm just gonna weite a really short post because im in a hurry...
What i needed:
-p2 colour victim 691 cant get enough
-essence stamping polish
- konad stamping plate m64
To begin with i put onthe red polish which i then let dry for a few minutes...
Then i stamoped the designs with the white stamping polish onto my nails.... Voila! Finished....
What i needed:
-p2 colour victim 691 cant get enough
-essence stamping polish
- konad stamping plate m64
To begin with i put onthe red polish which i then let dry for a few minutes...
Then i stamoped the designs with the white stamping polish onto my nails.... Voila! Finished....
Friday, January 27, 2012
Purple Jungle
Hey guys,
I'm so sorry that i havent posted pictures if my nails for over a week niw, but it was really stressy in school as we were writing MOCK'S ... Well it wasnt that muh fun, but forget about that for now.
The nail design which i am going to show you today is called Purple jungle, because as a base coat i used a dark purple colour.
I needed:
- p2 anti split coat
- basic nailpolish no.4
- essence white stamping nailpolish
- essence multi dimension shine
- konad stamping plate m60
To begin with i applied a undercoat of anti split coat which prevents my nails from getting any ugly stains, an then i applied the super cool purple colour.
After all this was dried i used the jungle design on the konad plate and stamped the motive onto my fingers using the white nailpolish. Then is sealed everything with the shining coat and finished!!
I hope you like it , and please comment it <3
love, amy
I'm so sorry that i havent posted pictures if my nails for over a week niw, but it was really stressy in school as we were writing MOCK'S ... Well it wasnt that muh fun, but forget about that for now.
The nail design which i am going to show you today is called Purple jungle, because as a base coat i used a dark purple colour.
I needed:
- p2 anti split coat
- basic nailpolish no.4
- essence white stamping nailpolish
- essence multi dimension shine
- konad stamping plate m60
To begin with i applied a undercoat of anti split coat which prevents my nails from getting any ugly stains, an then i applied the super cool purple colour.
After all this was dried i used the jungle design on the konad plate and stamped the motive onto my fingers using the white nailpolish. Then is sealed everything with the shining coat and finished!!
I hope you like it , and please comment it <3
love, amy
Monday, January 16, 2012
Hello Holo by essence
Hey Readers,
today i'd like to show you a new design with the essence Nail art special effect topper...
I know that the design will look a bit girly but still, i kind of like it..
So lets start, for the design i needed:
- p2, perfect nail hardener
-basic, nailpolish nr.26
-essence, nail art special effect topper 03 hello holo
-essence, multidimension
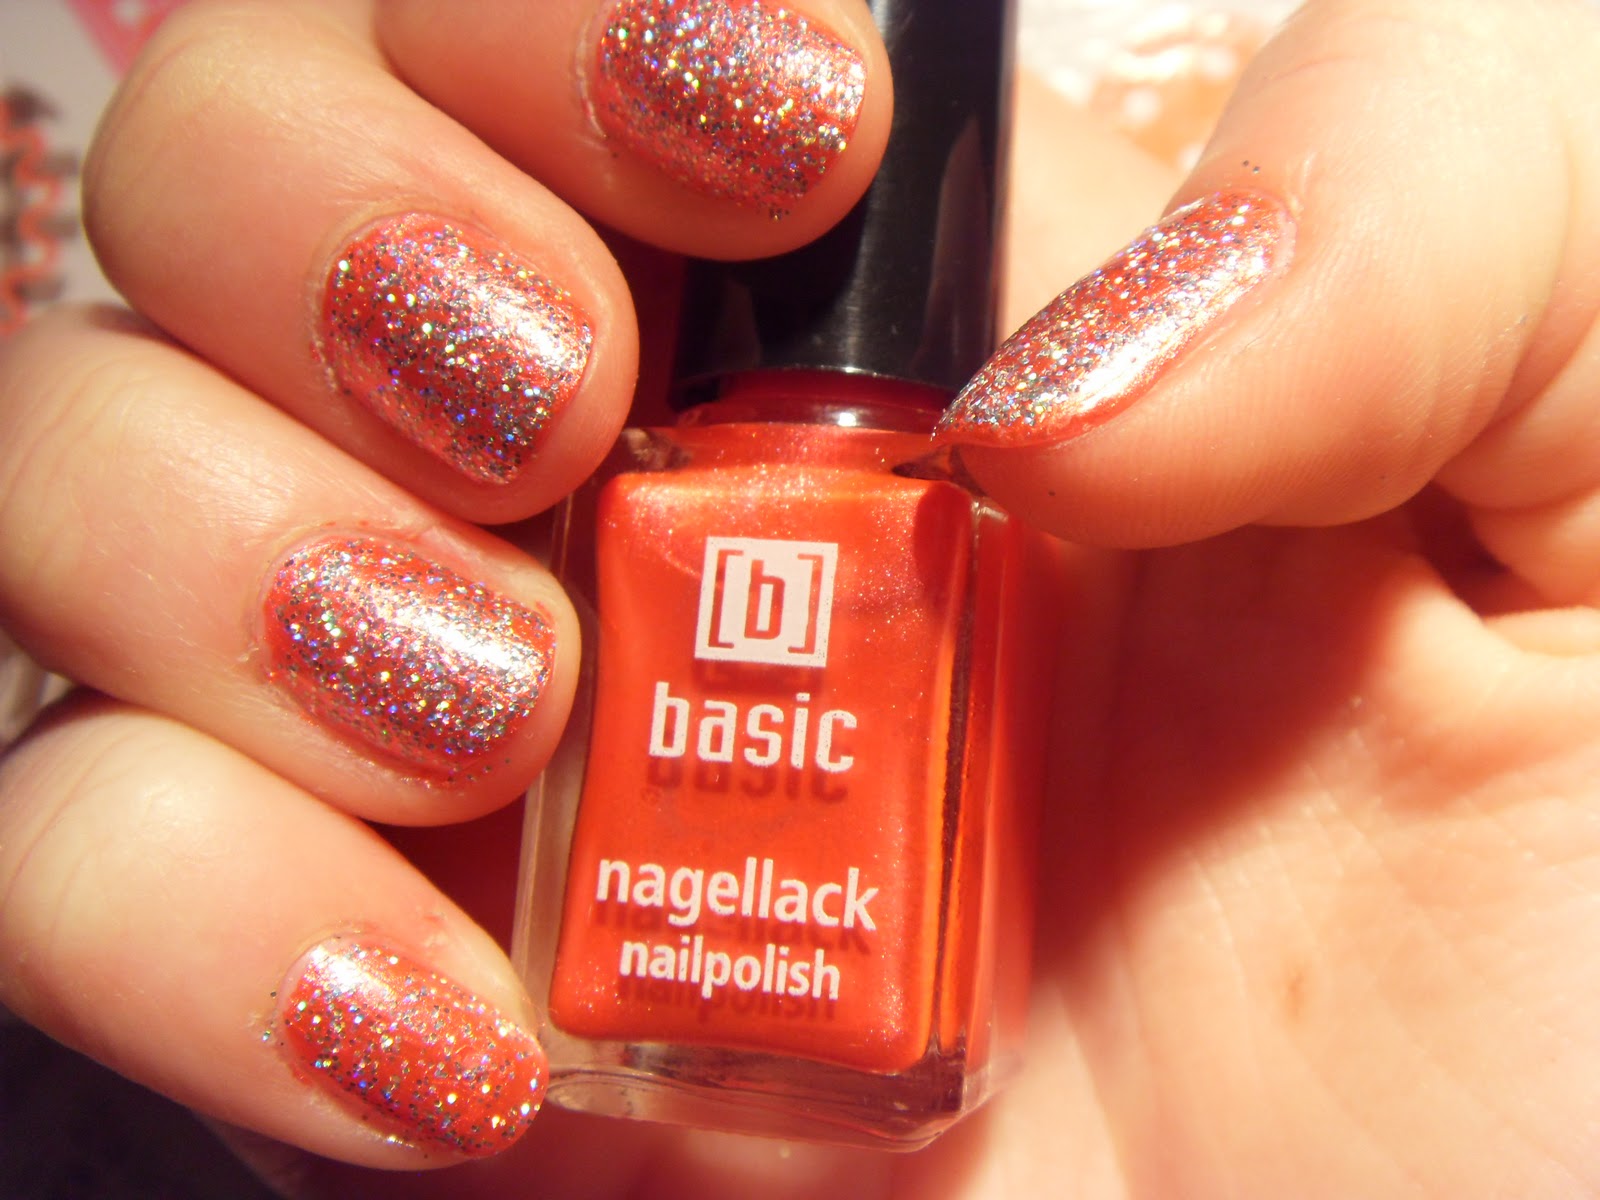
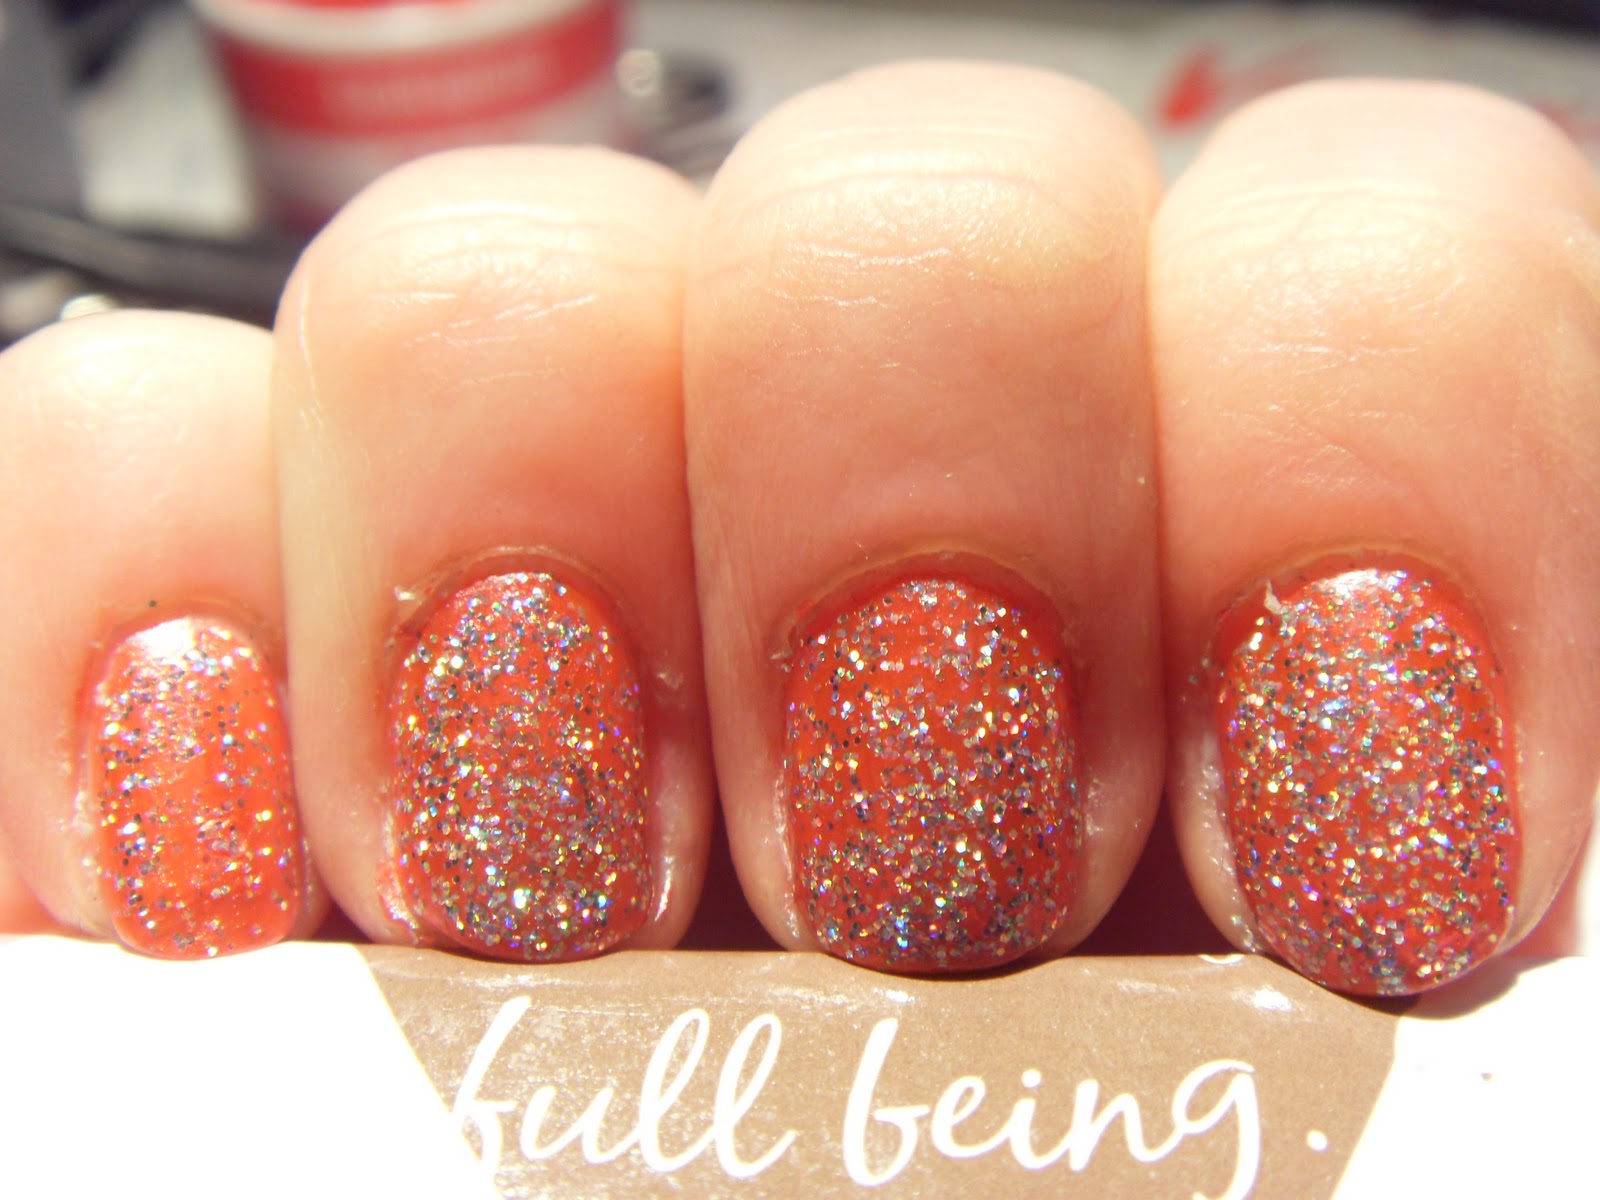
To begin with i applied the base coat and let it dry, then i applied my base coat which is a nice pinkish kind of colour. After it was dry I applied my new nail art special effect topper which i think is really cool. To make the colour more intense i applied another coat of the nailpolish. To not make any smears i let it dry about 20 minutes, just to make sure. And to give it a nice shine I topped everything of with my XXXL shine nail polish by essence. Below are a few pictures of the design, i hope you like them.
Still, in real life the design is a thousand times more glittery and sparkly, but unfortunately you cant see that on the photos...
Love, Amy <3
Please comment on what you think of the design!! <3
Saturday, January 14, 2012
Decent glitter <3
Hey readers,
For the last couple of weeks, i've always used the konad stamping plates on my nails and thought that maybe today i 'll do a design without stamping again.. But still i wanted it to be decent with the design today so i just applied some light colours..
What i needed:
-Perfect nail hardener (p2)
-Multi dimension 3 in 1 polish- 43 glam style (essence)
-diamond wish 01 crystall shine (rival de loop)
As my nails are breaking a lot recently, i bought a nail hardener which i used for the first time today. I really hope it works.... Then i applied a coat of multi dimension 3in1 nail polish- which i think is really cool as it is nice and sparkly :)
After this i applied 2 coats of the diamond wish nailpolish, and let it dry.
What do you think of the nailpolish?
Love, amy
For the last couple of weeks, i've always used the konad stamping plates on my nails and thought that maybe today i 'll do a design without stamping again.. But still i wanted it to be decent with the design today so i just applied some light colours..
What i needed:
-Perfect nail hardener (p2)
-Multi dimension 3 in 1 polish- 43 glam style (essence)
-diamond wish 01 crystall shine (rival de loop)
As my nails are breaking a lot recently, i bought a nail hardener which i used for the first time today. I really hope it works.... Then i applied a coat of multi dimension 3in1 nail polish- which i think is really cool as it is nice and sparkly :)
After this i applied 2 coats of the diamond wish nailpolish, and let it dry.
What do you think of the nailpolish?
Love, amy
Subscribe to:
Posts (Atom)